Windows環境でflutterアプリを開発できる状態にする
開発環境の構築方法
- 以前のブログにざっくりまとめましたので、こちらを参考に。ざっくりしすぎてわからなかったら聞いてください。 px-wing.hatenablog.com
Android Studioを起動
環境を構築すると「Start a new Flutter project」が追加されているので、そちらをクリックします。

flutter projectの作成ですが、せっかくなので、flutterのコンポーネントを利用したいので、「Flutter Module」をクリックします

flutter sdk pathは開発環境構築時にインストールした「c:\src\flutter」を指定してください。

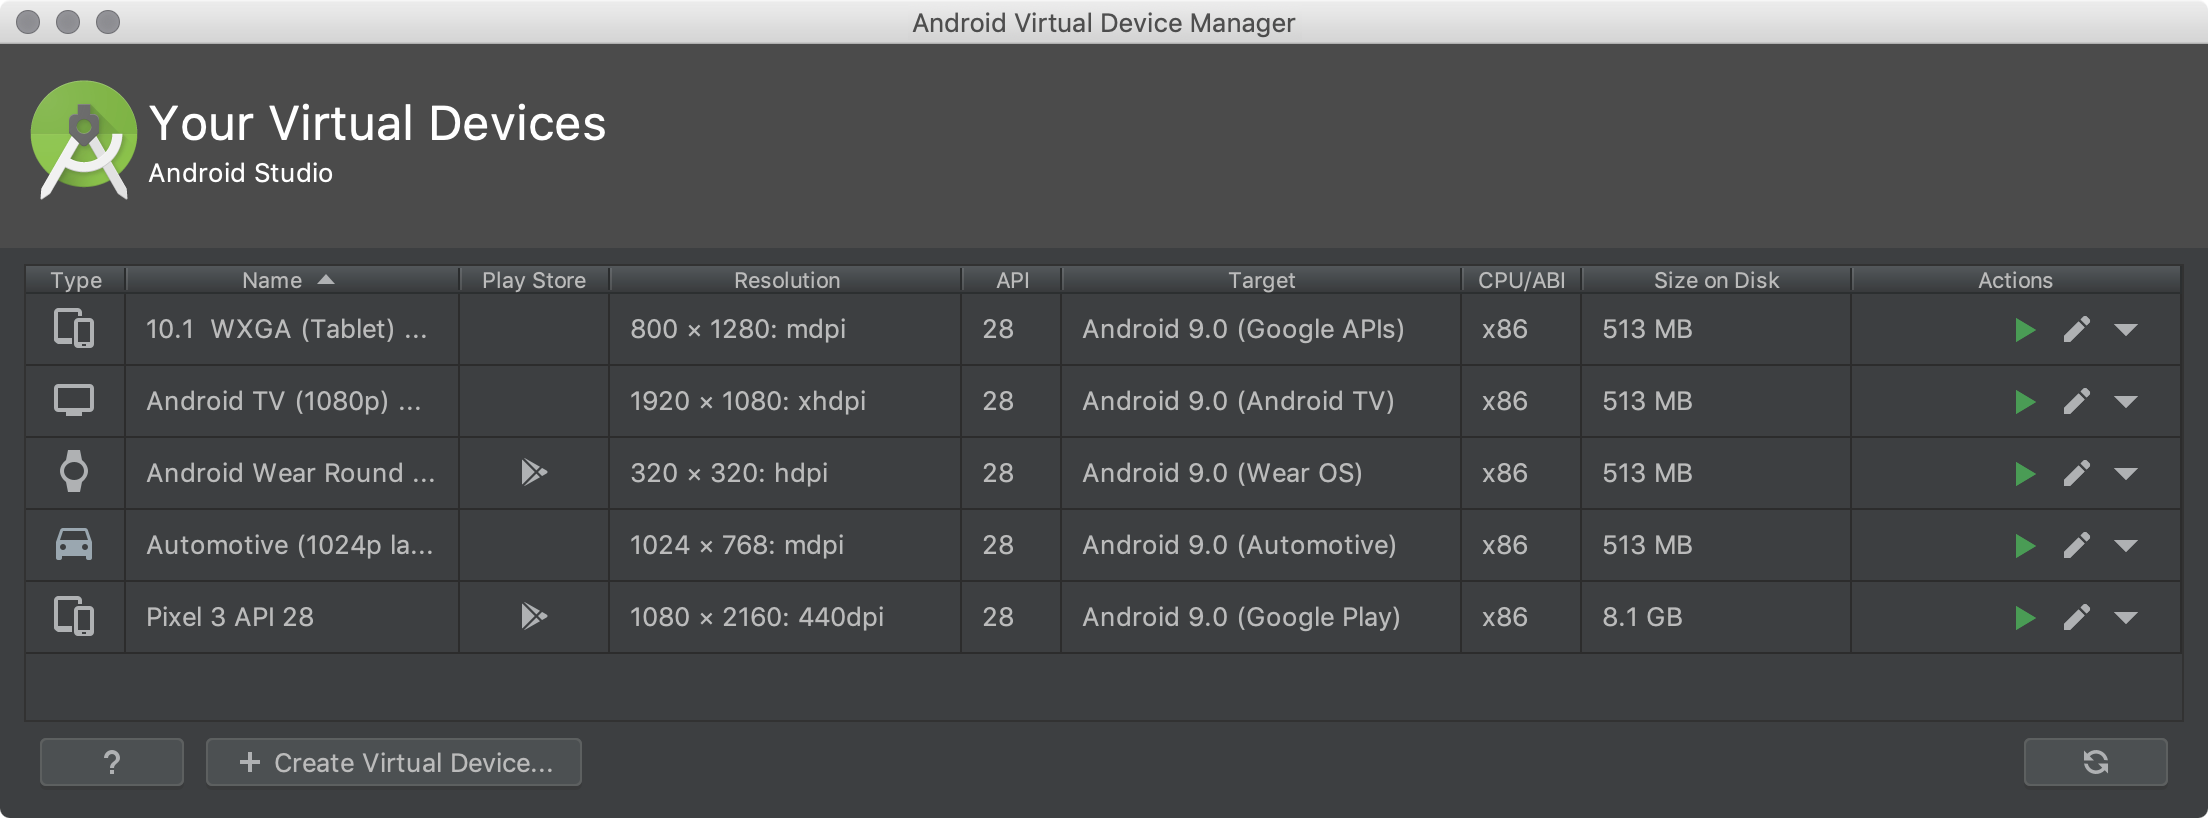
次に「Android Virtual Device」をインストールする
AVDをインストールしたあと、コマンドプロンプトで
flutter emulatorsコマンドを実行するとインストールしたAVDが一覧で表示される
>flutter emulators
2 available emulators:

Pixel_3_API_29  • Pixel 3 API 29  • Google • android
Pixel_3a_API_29 • Pixel 3a API 29 • Google • android

To run an emulator, run 'flutter emulators --launch <emulator id>'.
To create a new emulator, run 'flutter emulators --create [--name xyz]'.

You can find more information on managing emulators at the links below:
  https://developer.android.com/studio/run/managing-avds
  https://developer.android.com/studio/command-line/avdmanager
flutter emulators --create [--name <デバイスID>]コマンドを実行してflutter用のAVDを作成する
>flutter emulators --create [--name Pixel_3_API_29]
Emulator 'flutter_emulator' created successfully.
- 初期状態でエミュレーターを起動するとflutterアプリが起動することを確認できた
