はじめに
- strapiのドキュメントに記載されている方法で管理画面のレイアウトを変更してみる。(うまくいきませんでした。)
strapi.io
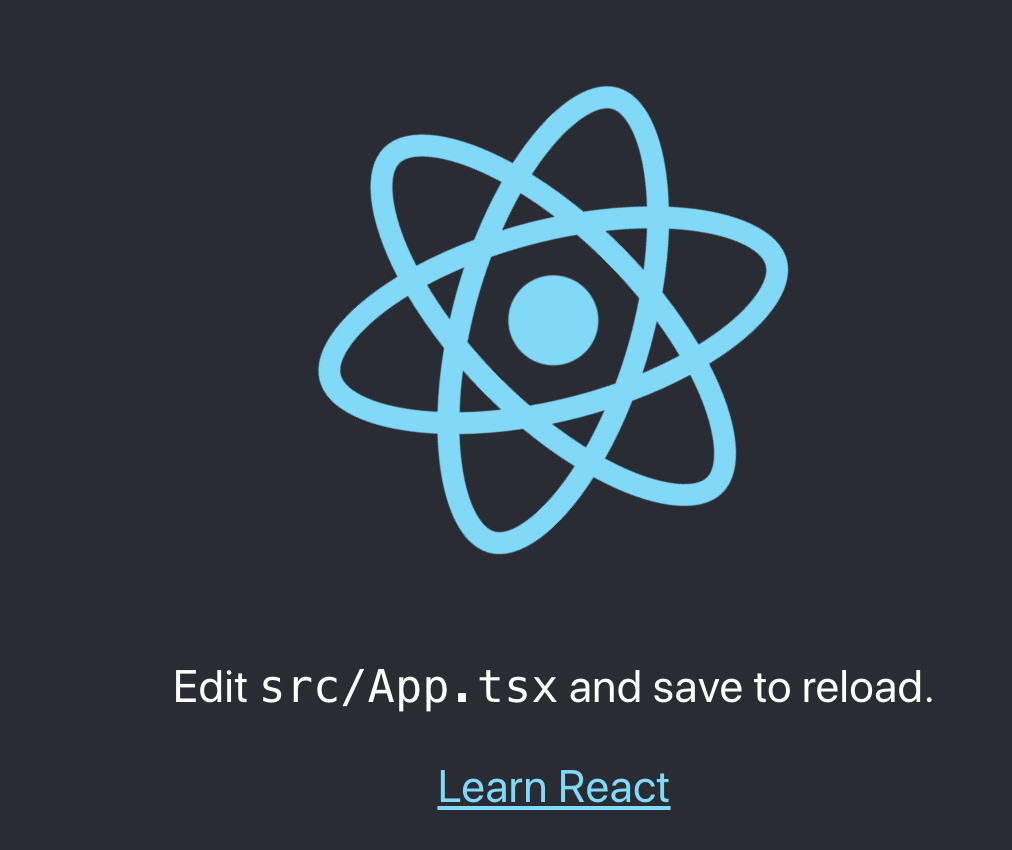
デフォルトの画面
.App_Root/node_modules/strapi-admin/admin/src/containers/
├── Admin
│   ├── Logout
│   └── tests
├── App
│   ├── styles
│   └── tests
├── ApplicationInfosPage
│   └── components
│       ├── Detail
│       ├── InfoText
│       ├── Link
│       └── Wrapper
├── AuthPage
│   ├── components
│   │   ├── AuthLink
│   │   ├── Box
│   │   ├── ForgotPassword
│   │   ├── ForgotPasswordSuccess
│   │   ├── Input
│   │   ├── Login
│   │   ├── Logo
│   │   ├── Oops
│   │   ├── Register
│   │   ├── ResetPassword
│   │   └── Section
│   ├── tests
│   └── utils
├── ErrorBoundary
│   └── tests
├── HomePage
├── InstalledPluginsPage
│   └── utils
│       └── tests
├── LanguageProvider
├── LeftMenu
│   ├── tests
│   └── utils
│       └── tests
├── LocaleToggle
│   └── tests
├── MarketplacePage
│   └── PluginCard
├── NewNotification
│   ├── Notification
│   └── tests
├── NotFoundPage
├── NotificationProvider
├── Onboarding
│   ├── StaticLinks
│   └── utils
├── PluginDispatcher
│   └── tests
├── PrivateRoute
├── ProfilePage
│   └── utils
├── Roles
│   ├── CreatePage
│   ├── EditPage
│   │   └── utils
│   ├── ListPage
│   ├── ProtectedEditPage
│   └── ProtectedListPage
├── SettingsHeaderSearchContextProvider
├── SettingsPage
│   ├── components
│   │   ├── ApplicationDetailLink
│   │   ├── MenuWrapper
│   │   ├── SettingDispatcher
│   │   ├── StyledLeftMenu
│   │   └── Wrapper
│   └── utils
│       └── tests
├── Theme
├── Users
│   ├── EditPage
│   │   └── utils
│   ├── ListPage
│   │   ├── tests
│   │   └── utils
│   │       └── tests
│   ├── ProtectedEditPage
│   └── ProtectedListPage
└── Webhooks
    ├── EditView
    │   ├── tests
    │   └── utils
    ├── ListView
    │   └── tests
    ├── ProtectedCreateView
    ├── ProtectedEditView
    └── ProtectedListView
ダッシュボードを変更する場合
- 下記のコマンドを実行して管理画面のファイルを格納するためのフォルダを作成する
mkdir -p . app_root/admin/src/containers/HomePage
- 下記のコマンドで管理画面のベースとなるファイルを作成したフォルダにコピーする
cp ./node_modules/strapi-admin/admin/src/containers/HomePage/index.js ./admin/src/containers/HomePage/
- コピーした
HomePage/index.jsファイルは下記のようなファイルになっている
/*
*
* HomePage
*
*/
/* eslint-disable */
import React, { memo, useMemo } from 'react';
import { FormattedMessage } from 'react-intl';
import { get, upperFirst } from 'lodash';
import { auth, LoadingIndicatorPage } from 'strapi-helper-plugin';
import PageTitle from '../../components/PageTitle';
import { useModels } from '../../hooks';
import useFetch from './hooks';
import { ALink, Block, Container, LinkWrapper, P, Wave, Separator } from './components';
import BlogPost from './BlogPost';
import SocialLink from './SocialLink';
const FIRST_BLOCK_LINKS = [
{
link:
'https://strapi.io/documentation/v3.x/getting-started/quick-start.html#_4-create-a-category-content-type',
contentId: 'app.components.BlockLink.documentation.content',
titleId: 'app.components.BlockLink.documentation',
},
{
link: 'https://github.com/strapi/foodadvisor',
contentId: 'app.components.BlockLink.code.content',
titleId: 'app.components.BlockLink.code',
},
];
const SOCIAL_LINKS = [
{
name: 'GitHub',
link: 'https://github.com/strapi/strapi/',
},
{
name: 'Slack',
link: 'https://slack.strapi.io/',
},
{
name: 'Medium',
link: 'https://medium.com/@strapi',
},
{
name: 'Twitter',
link: 'https://twitter.com/strapijs',
},
{
name: 'Reddit',
link: 'https://www.reddit.com/r/Strapi/',
},
{
name: 'Forum',
link: 'https://forum.strapi.io',
},
{
name: 'Academy',
link: 'https://academy.strapi.io',
},
];
const HomePage = ({ history: { push } }) => {
const { error, isLoading, posts } = useFetch();
// Temporary until we develop the menu API
const { collectionTypes, singleTypes, isLoading: isLoadingForModels } = useModels();
const handleClick = e => {
e.preventDefault();
push(
'/plugins/content-type-builder/content-types/plugins::users-permissions.user?modalType=contentType&kind=collectionType&actionType=create&settingType=base&forTarget=contentType&headerId=content-type-builder.modalForm.contentType.header-create&header_icon_isCustom_1=false&header_icon_name_1=contentType&header_label_1=null'
);
};
const hasAlreadyCreatedContentTypes = useMemo(() => {
const filterContentTypes = contentTypes => contentTypes.filter(c => c.isDisplayed);
return (
filterContentTypes(collectionTypes).length > 1 || filterContentTypes(singleTypes).length > 0
);
}, [collectionTypes, singleTypes]);
if (isLoadingForModels) {
return <LoadingIndicatorPage />;
}
const headerId = hasAlreadyCreatedContentTypes
? 'HomePage.greetings'
: 'app.components.HomePage.welcome';
const username = get(auth.getUserInfo(), 'username', '');
const linkProps = hasAlreadyCreatedContentTypes
? {
id: 'app.components.HomePage.button.blog',
href: 'https://strapi.io/blog/',
onClick: () => {},
type: 'blog',
target: '_blank',
}
: {
id: 'app.components.HomePage.create',
href: '',
onClick: handleClick,
type: 'documentation',
};
return (
<>
<FormattedMessage id="HomePage.helmet.title">
{title => <PageTitle title={title} />}
</FormattedMessage>
<Container className="container-fluid">
<div className="row">
<div className="col-lg-8 col-md-12">
<Block>
<Wave />
<FormattedMessage
id={headerId}
values={{
name: upperFirst(username),
}}
>
{msg => <h2 id="mainHeader">{msg}</h2>}
</FormattedMessage>
{hasAlreadyCreatedContentTypes ? (
<FormattedMessage id="app.components.HomePage.welcomeBlock.content.again">
{msg => <P>{msg}</P>}
</FormattedMessage>
) : (
<FormattedMessage id="HomePage.welcome.congrats">
{congrats => {
return (
<FormattedMessage id="HomePage.welcome.congrats.content">
{content => {
return (
<FormattedMessage id="HomePage.welcome.congrats.content.bold">
{boldContent => {
return (
<P>
<b>{congrats}</b>
{content}
<b>{boldContent}</b>
</P>
);
}}
</FormattedMessage>
);
}}
</FormattedMessage>
);
}}
</FormattedMessage>
)}
{hasAlreadyCreatedContentTypes && (
<div style={{ marginTop: isLoading ? 60 : 50 }}>
{posts.map((post, index) => (
<BlogPost
{...post}
key={post.link}
isFirst={index === 0}
isLoading={isLoading}
error={error}
/>
))}
</div>
)}
<FormattedMessage id={linkProps.id}>
{msg => (
<ALink
rel="noopener noreferrer"
{...linkProps}
style={{ verticalAlign: ' bottom', marginBottom: 5 }}
>
{msg}
</ALink>
)}
</FormattedMessage>
<Separator style={{ marginTop: 37, marginBottom: 36 }} />
<div style={{ display: 'flex', justifyContent: 'space-between' }}>
{FIRST_BLOCK_LINKS.map((data, index) => {
const type = index === 0 ? 'doc' : 'code';
return (
<LinkWrapper href={data.link} target="_blank" key={data.link} type={type}>
<FormattedMessage id={data.titleId}>
{title => <p className="bold">{title}</p>}
</FormattedMessage>
<FormattedMessage id={data.contentId}>
{content => <p>{content}</p>}
</FormattedMessage>
</LinkWrapper>
);
})}
</div>
</Block>
</div>
<div className="col-md-12 col-lg-4">
<Block style={{ paddingRight: 30, paddingBottom: 0 }}>
<FormattedMessage id="HomePage.community">{msg => <h2>{msg}</h2>}</FormattedMessage>
<FormattedMessage id="app.components.HomePage.community.content">
{content => <P style={{ marginTop: 7, marginBottom: 0 }}>{content}</P>}
</FormattedMessage>
<FormattedMessage id="HomePage.roadmap">
{msg => (
<ALink
rel="noopener noreferrer"
href="https://portal.productboard.com/strapi/1-public-roadmap/tabs/2-under-consideration"
target="_blank"
>
{msg}
</ALink>
)}
</FormattedMessage>
<Separator style={{ marginTop: 18 }} />
<div
className="row social-wrapper"
style={{
display: 'flex',
margin: 0,
marginTop: 36,
marginLeft: -15,
}}
>
{SOCIAL_LINKS.map((value, key) => (
<SocialLink key={key} {...value} />
))}
</div>
</Block>
</div>
</div>
</Container>
</>
);
};
export default memo(HomePage);
- 公式サイトのように下記の内容のファイルを設置しても管理画面のレイアウトは変更されませんでした。なぜだろう
import React, { memo } from 'react';

import { Block, Container } from './components';

const HomePage = ({ global: { plugins }, history: { push } }) => {
  return (
    <>
      <Container className="container-fluid">
        <div className="row">
          <div className="col-12">
            <Block>Hello World!</Block>
          </div>
        </div>
      </Container>
    </>
  );
};

export default memo(HomePage);
結論