はじめに
- nuxtjsでファーストビューで途中までテキストを表示して、ユーザーがリンクまたはボタンをクリックしたら、全テキストを表示するサンプルを作成してみた。
コード
Case1(テキスト)
- components/Readmore.vueファイルを作成して下記のコードを記述する
<template>
    <div>
        <span v-if="!readMoreActivated">{{longText.slice(0, 200)}}</span>
            <a class="" v-if="!readMoreActivated" @click="activateReadMore" href="#">
            read more...
        </a>
        <span v-if="readMoreActivated" v-html="longText"></span>
    </div>
</template>
<script>
export default {
    name: "Readmore",
    data(){
        return {
            longText: `Brown skin girl
Your skin just like pearls
The best thing in the world
Never trade you for anybody else
Singin' brown skin girl
Your skin just like pearls
The best thing in the world
I never trade you for anybody else, singin'
She said she really grew up poor like me
Don't believe in nothin' but the Almighty
Just a likkle jeans and a pure white tee
She never did forever be nobody wifey, yeah
So while I may not pretty boy, your heart is amiss
Play it like a villain 'cause she caught in a wave
Tonight I am walkin' away
Lined up my mind, on the grind, yeah, yeah
Tonight I might fall in love, dependin' on how you hold me
I'm glad that I'm calmin' down, can't let no one come control me
Keep dancin' and call it love, she fightin' but fallin' slowly
If ever you are in doubt, remember what mama told me
Brown skin girl, ya skin just like pearls
Your back against the world
I never trade you for anybody else, say
Brown skin girl, ya skin just like pearls
The best thing inna di world
I never trade you for anybody else, say
Pose like a trophy when Naomis walk in
She need an Oscar for that pretty dark skin
Pretty like Lupita when the cameras close in
Drip broke the levee when my Kellys roll in
I think tonight she might braid her braids
Melanin too dark to throw her shade
She minds her business and whines her waist
Gold like 24k, okay
Tonight I might fall in love, dependin' on how you hold me
I'm glad that I'm calmin' down, can't let no one come control me
Keep dancin' and call it love, she fightin' but fallin' slowly
If ever you are in doubt, remember what mama told me
Brown skin girl, ya skin just like pearls
Your back against the world
I never trade you for anybody else, say
Brown skin girl, ya skin just like pearls
The best thing inna di (about the) world
I never trade you for anybody else, say
Oh, have you looked in the mirror lately? (Lately)
Wish you could trade eyes with me ('cause)
There's complexities in complexion
But your skin, it glow like diamonds
Dig me like the earth, you be giving birth
Took everything in life, baby, know your worth
I love everything about you, from your nappy curls
To every single curve, your body natural
Same skin that was broken be the same skin takin' over
Most things out of focus, view
But when you're in the room, they notice you (notice you)
'Cause you're beautiful
Yeah, you're beautiful
The men dem gon' fall in love
With you and all of your glory
Your skin is not only dark, it shines and it tells your story
Keep dancin', they can't control you
They watchin', they all adore you
If ever you are in doubt, remember what mama told you
Brown skin girl (brown skin girl), ya skin just like pearls (brown skin girl)
Your back against the world (oh)
I never trade you for anybody else, say (no, no)
Brown skin girl (brown skin girl), ya skin just like pearls (brown skin)
The best thing in all the world
I never trade you for anybody else, say
Brown skin girl
Your skin just like pearls
The best thing in the world
I never trade you for anybody else, singin'`,
            readMoreActivated: false
        }
    },
    methods: {
        activateReadMore(){
            this.readMoreActivated = true;
        },
    }

}
</script>
github.com
Case2(オリジナル / ボタン)
- components/Readmore2.vueファイルを作成して下記のコードを記述する
<template>
  <div class="card">
    <div class="card__thumbnail">
      <img class="card__img" src="@/assets/images/sample.jpg">
    </div>
    <div class="card__content">
      <div class="card__title">
        タイトルが入ります。
      </div>
      <p class="card__description" :class="[toggle ? 'card__max_description' : 'card__min_description']">
        こちらはテストですこちらはテストですこちらはテストですこちらはテストですこちらはテストですこちらはテストですこちらはテストですこちらはテストですこちらはテストですこちらはテストですこちらはテストですこちらはテストですこちらはテストですこちらはテストですこちらはテストですこちらはテストですこちらはテストですこちらはテストです
      </p>
    </div>
    <button class="card__button" @click="toggleBtn">
      {{ toggle ? '▲ close' : '▼ more' }}
    </button>
  </div>
</template>

<script>
export default {
  filters: {
    ellipsis (value, toggle) {
      if (!value) { return '' }
      if ((value.length > 150) && (!toggle)) {
        return value.slice(0, 150) + '...'
      }
      return value
    }
  },
  data: () => ({
    toggle: false
  }),
  methods: {
    toggleBtn () {
      this.toggle === true ? this.toggle = false : this.toggle = true
    }
  }
}
</script>
<style>

(一部省略)

## 閉じている時のスタイルシート
.card__min_description{
  font-size: 14px;
  height: 85px;
  overflow: hidden;
  -webkit-animation: fadeout 3s linear 0s 1;
}

## 開いている時のスタイルシート
.card__max_description{
  font-size: 14px;
  animation: hideop 1s linear 0s;
  -webkit-animation: fadeout 3s linear 0s 1;
}

(一部省略)

</style>
<template>
  <div>
    <Readmore />
    <Readmore2 />
  </div>
</template>

<script>
import Readmore from '@/components/Readmore'
import Readmore2 from '@/components/Readmore2'

export default {
  components: {
    Readmore,
    Readmore2
  }
}
</script>
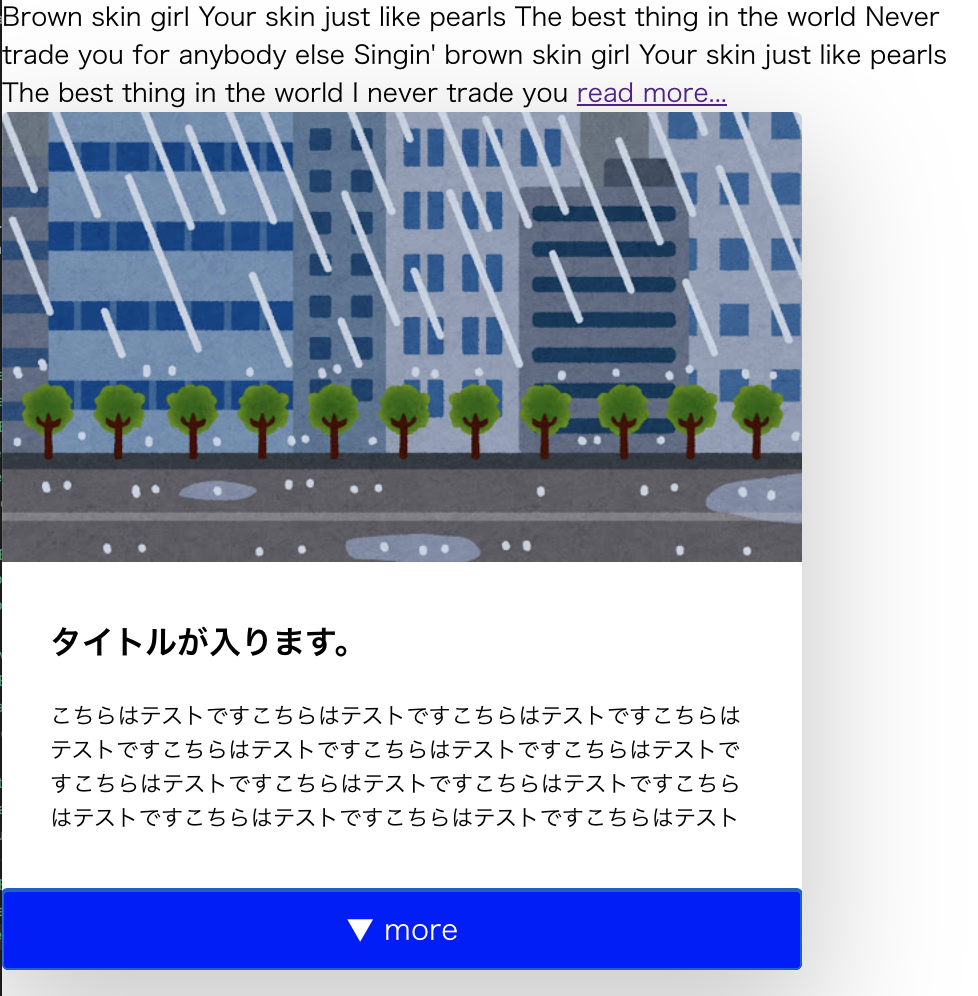
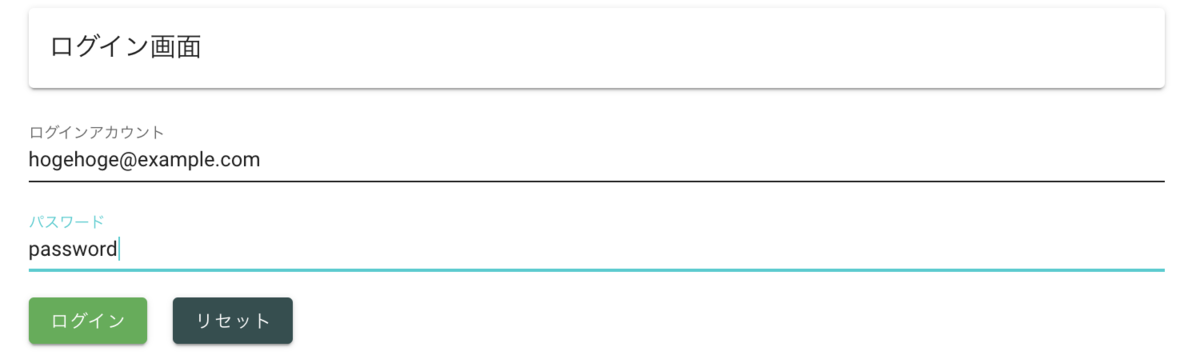
実際の画面
ファーストビューの状態
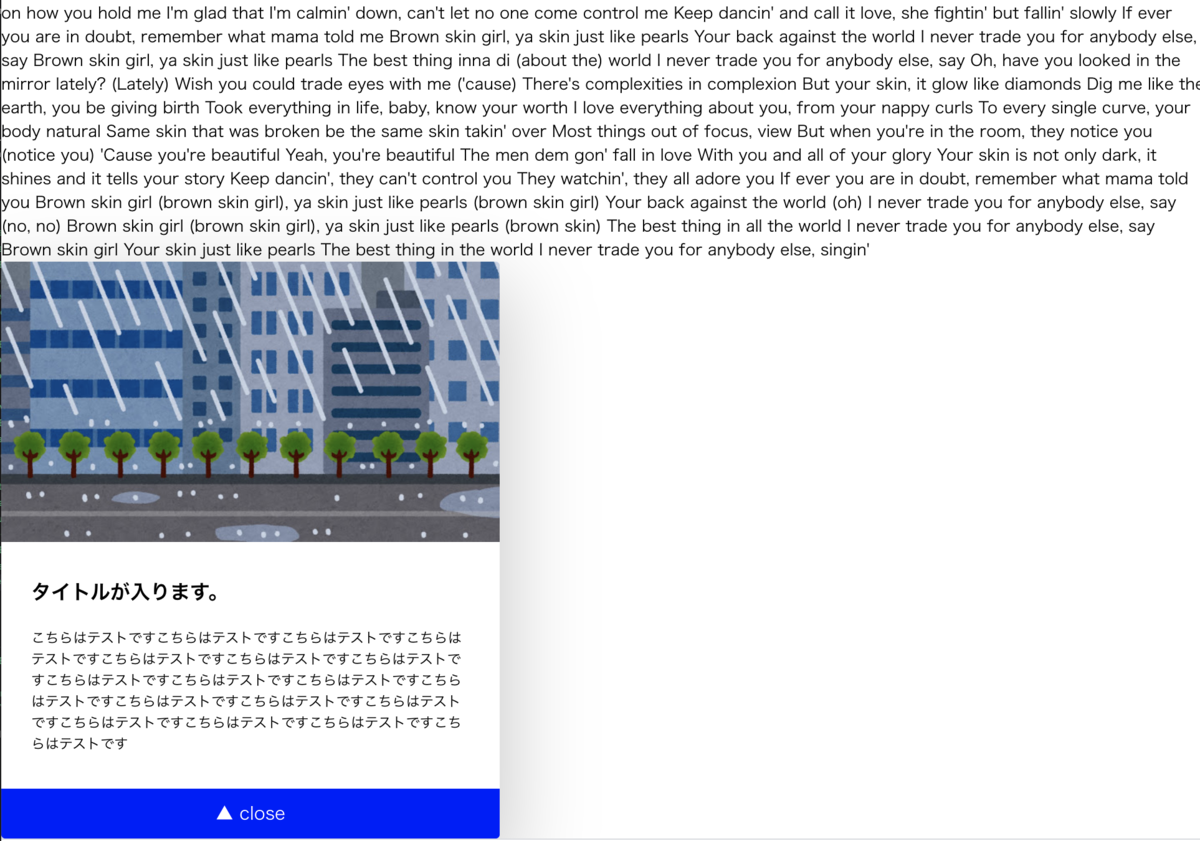
ユーザーがリンクまたはボタンをクリックした状態