はじめに
- strapiの独自実装しなくてもcurdのAPIは標準で準備されているので、controllerの実装も必要がなく開発できるが、機能としてあるので触ってみる。
手順
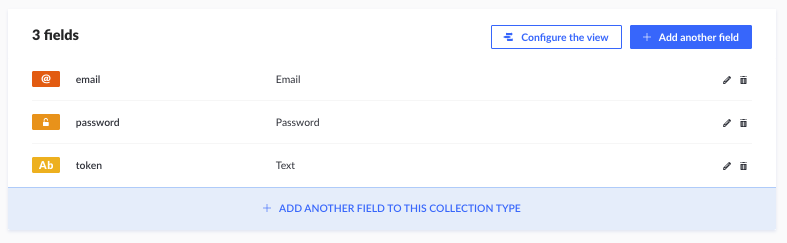
コントローラーを利用するための「customers」というコンテンツタイプを作成する
作成すると「api/customers/」フォルダが作成される。その中にある「config/routes.json」ファイルに下記の記述を追記する
    {
      "method": "GET",
      "path": "/customers_customfind",
      "handler": "customers.customfind",
      "config": {
        "policies": []
      }
    },
- 「api/customers/」フォルダの中にある「controllers/customers.js」ファイルに下記の記述を追記する
'use strict';
const { sanitizeEntity } = require('strapi-utils');

module.exports = {
  async customfind(ctx) {
    let entities = await strapi.query('customers').find({ id: 1 });
    return entities.map(entity => sanitizeEntity(entity, { model: strapi.models.customers }));
  }
};
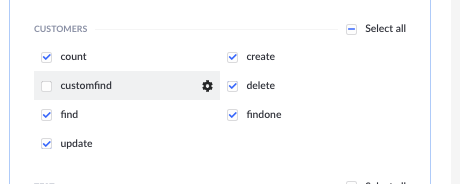
- 上記の作業が完了したら管理画面にログインして作成したAPIのアクセス許可を与える。
※コントローラーに記述した「customfind」メソッドが表示される
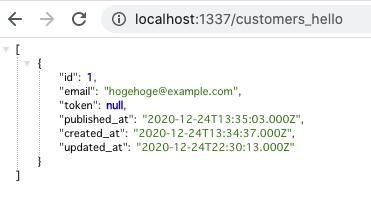
実行結果