はじめに
- Nuxtjs+Expressで構築したシステムでP DFの作成及びダウンロードする機能の実装をする必要があり、技術的に調査した結果を下記にまとめました。
NodejsでPDFを生成できるライブラリ
- NodejsでPDFを生成できるライブラリをいくつかピックアップしてみて、スター数が多い「pdfmake」を利用してPDFを生成してみることにします。個人的にはレイアウトを簡単に作成できる、node-html-pdfが好きです。※使ったことはありませんが。
- pdfmake [STAR数: 9.8k]
https://github.com/bpampuch/pdfmake

- pdfkit [STAR数: 7.7k]
https://github.com/foliojs/pdfkit

- node-html-pdf [STAR数: 3.4k]
https://github.com/marcbachmann/node-html-pdf/releases
パッケージのインストール
yarn add pdfmake --save
yarn add pdfmake-unicode --save
yarn add @types/pdfmake --save-dev
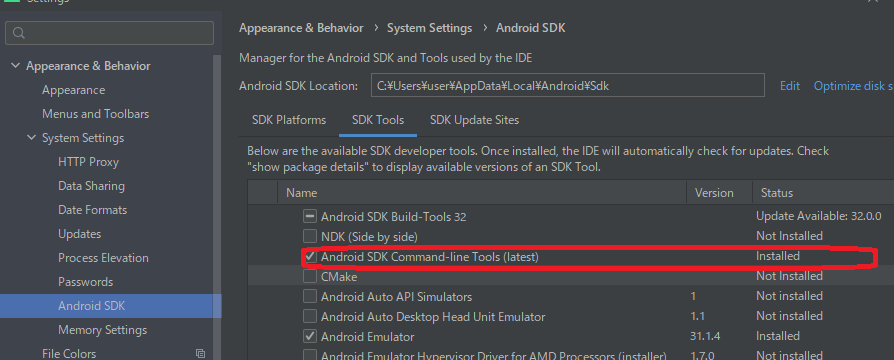
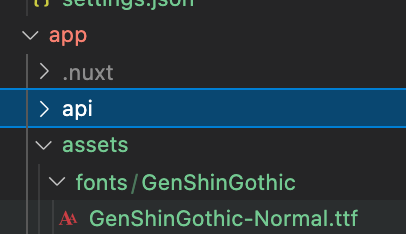
日本語対応するためにフリーフォントをダウンロードする
Express(バックエンド側の処理)
import PdfPrinter from "pdfmake";
import fs from "fs";

export async function postCreatePdf(req: Request, res: Response) {
  const params = req.body

  // PDFファイルの生成
  createPDF(params).then(function(value) {

    // 5秒後にファイルをダウンロードする処理をする。
    // 理由はPDFファイルを生成して直後にダウンロードすると、ファイルが壊れた状態でダウンロードされてしまうため、
 // 少し時間をおいてからダウンロードする様にする
    setTimeout(async function() {

      // ブラウザ表示
      //var data = fs.readFileSync("/<YourAppRoot>/sample.pdf");
      //res.contentType("application/pdf");
      //res.send(data);

      // ファイルダウンロード
      res.download("/<YourAppRoot>/sample.pdf");

    }, 5000);
  });
}

// PDFファイル生成処理
async function createPDF(searchAccoutIdParams: any) {
  return new Promise(async function(resolve, reject) {
    try {

      // アセットフォルダに設置したフォントサイズを読み込む
      const fonts = {
        GenShinGothic: {
          normal: '/<YourAppRoot>/assets/fonts/GenShinGothic/GenShinGothic-Normal.ttf',
          bold: '/<YourAppRoot>/assets/fonts/GenShinGothic/GenShinGothic-Normal.ttf',
        },
      };

      const PdfPrinter = require('pdfmake');
      const printer = new PdfPrinter(fonts);
      const fs = require('fs');

      // PDFファイルのレイアウトを指定する
      const docDefinition = {
        content: [
          { text: 'こちらはサンプルです。', style: 'title' },
          {
            table: {
              headerRows: 1,
              body: [
                ['Header 1', 'Header 2', 'Header 3'],
                ['Sample value 1', 'Sample value 2', 'Sample value 3'],
                ['Sample value 1', 'Sample value 2', 'Sample value 3'],
                ['Sample value 1', 'Sample value 2', 'Sample value 3'],
                ['Sample value 1', 'Sample value 2', 'Sample value 3'],
                ['Sample value 1', 'Sample value 2', 'Sample value 3'],
              ]
            },
            layout: {
              hLineStyle: function (i: any, node: any) {
                if (i === 0 || i === node.table.body.length) {
                  return null;
                }
                return {dash: {length: 10, space: 4}};
              },
              vLineStyle: function (i: any, node: any) {
                if (i === 0 || i === node.table.widths.length) {
                  return null;
                }
                return {dash: {length: 4}};
              },
            }
          },
          {
          layout: 'lightHorizontalLines', // optional
          table: {
            // headers are automatically repeated if the table spans over multiple pages
            // you can declare how many rows should be treated as headers
            headerRows: 1,
            widths: [ '*', 'auto', 100, '*' ],

            body: [
              [ 'First', 'Second', 'Third', 'The last one' ],
              [ 'Value 1', 'Value 2', 'Value 3', 'Value 4' ],
              [ { text: 'Bold value', bold: true }, 'Val 2', 'Val 3', 'Val 4' ]
            ]
          }}
        ],
        styles: {
          h1: {
            font: 'GenShinGothic',
            fontSize: 18,
            bold: true
          },
          style2: {
            alignment: 'right',
            color: 'blue',
          }
        },
        defaultStyle: {
          font: 'GenShinGothic',
          fontSize: 14,
        }
      };

      // PDFファイルの作成
      // <YourAPPRoot>/sample.pdfファイルが作成される
      const pdfDoc = printer.createPdfKitDocument(docDefinition);
      pdfDoc.pipe(fs.createWriteStream('sample.pdf'));
      pdfDoc.end();
      resolve(true)
    } catch (e) {
      reject(false)
    }
  });
}
フロント側(Nuxtjts)
    async createPdf() {
      // responseTypeを指定しないとうまくPDFファイルをダウンロードできません。
      // createメソッドで一度、responseTypeを指定したインスタンスを作成する
      const axios = this.$axios.create({
        'responseType': 'blob',
      });

      axios.post('/admin/create-pdf', { userId: 100}).then(response => {
          const blob = new Blob([response.data], { type: "application/pdf" });
          const url = (window.URL || window.webkitURL).createObjectURL(blob);
          const a = document.createElement("a");
          a.href = url;
          a.download = "test.pdf";
          document.body.appendChild(a);
          a.click();
          document.body.removeChild(a);
      })
    },
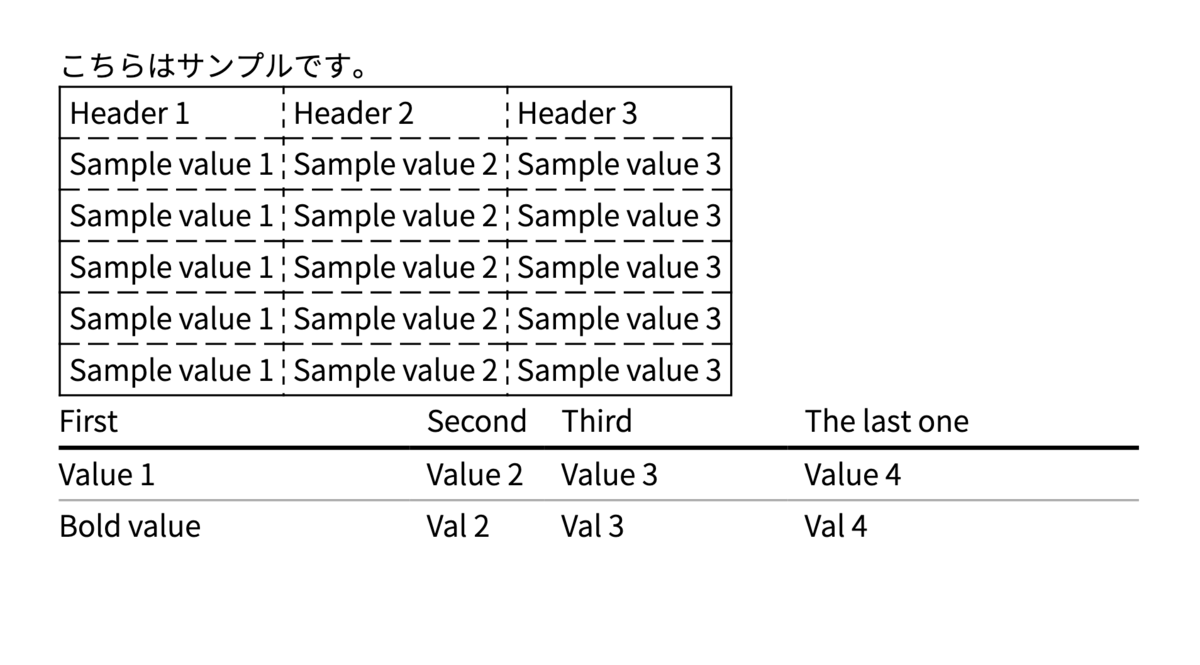
実行結果
- 上記の処理を実行した時に生成されたPDFファイルのサンプルは下記のようになります。
今回参考にさせて頂いた記事
https://stackoverflow.com/questions/52817280/problem-downloading-a-pdf-blob-in-javascript
https://blog.kozakana.net/2018/04/express-csv-download/
https://nodejs.keicode.com/nodejs/how-to-create-pdf-file.php
https://hapicode.com/javascript/pdfmake.html#npm-%E3%81%8B%E3%82%89%E3%82%A4%E3%83%B3%E3%82%B9%E3%83%88%E3%83%BC%E3%83%AB%E3%81%99%E3%82%8B%E5%A0%B4%E5%90%88
https://stackoverflow.com/questions/31105846/how-to-send-a-pdf-file-from-node-express-app-to-the-browser
https://qiita.com/akamushi/items/661397c297c2e83acc73
https://github.com/bpampuch/pdfmake/issues/724
問題点
- PDFファイルがちゃんと生成されるまで5秒で問題ないのか、複雑なPDFファイルを生成したときに5秒以上、待ってからダウンロードしないといけないのか検証が必要である。
- pdfmakeでどこまで複雑なレイアウトが実現可能なのか調査が必要
- pdfmakeで作成したPDFがサーバーに残ってしまうので、削除するタイミングをどうするか検証する必要がある